So far, we have replaced two more cabinets. Both we didn't realize until later that one had a gaping hole in the middle, and the other had so many drill holes underneath, that the new range hood would NEVER attach correctly.
Remember the big, gaping holes behind the backsplashes?


The hole in the wall led to nowhere, so it couldn't successfully be patched if I wanted to hang tile to the wall. Luckily, there were studs present and we were able to improvise.
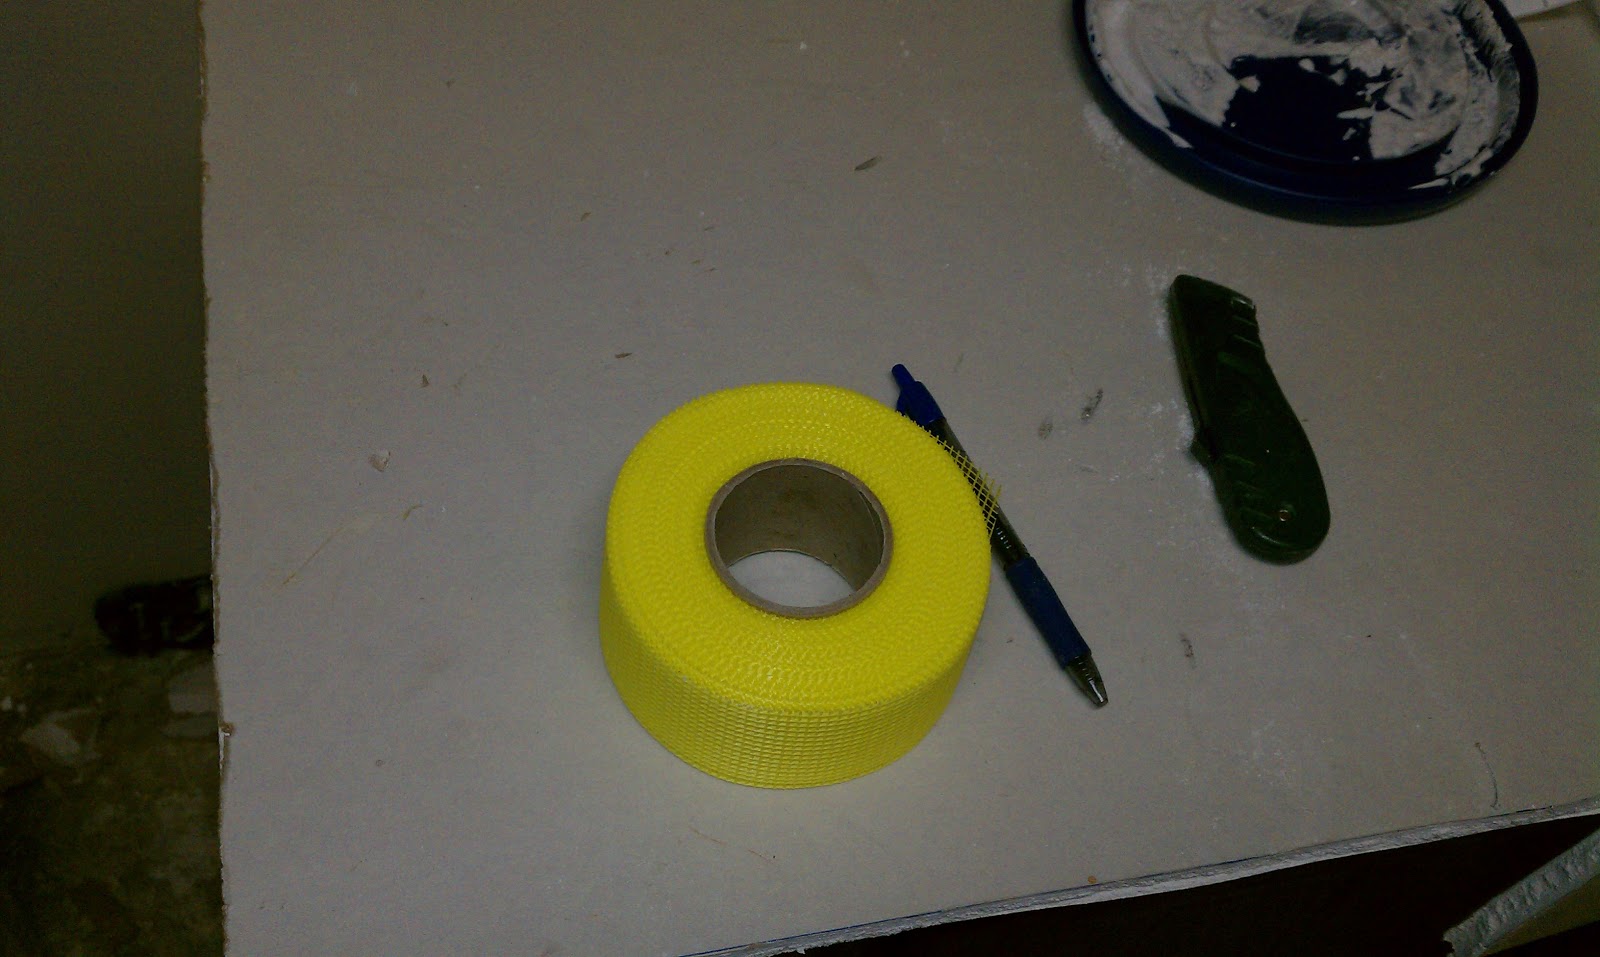
We bought a small sheet of drywall ($4.50), drywall joint tape ($6), and a big tub of spackle ($6) My SO had to cut out the plaster to form a more solid shape for the drywall to fit in. He did this and then used the tape measure and box cutter to cut out the right size from the dry wall.


After this, he used a wet sanding sponge and lightly sanded it to even it out and make it flush with the rest of the wall. Now, the big gaping holes are gone!
If you have any questions on how we did this, please let me know.
No comments:
Post a Comment